
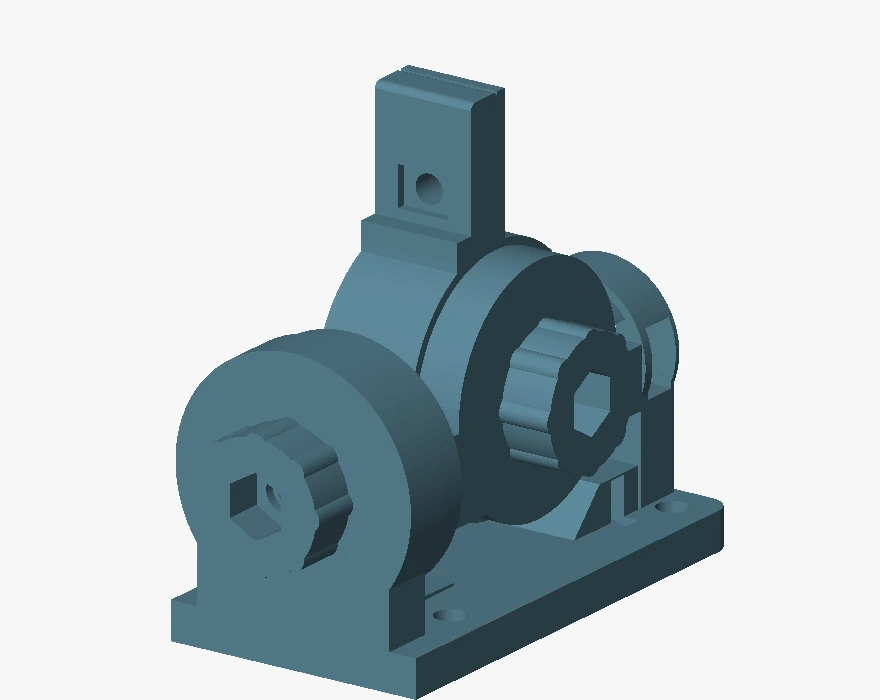
Original small mount
The compact mount used with the original smaller array. It has its own base, cradle and adjustment knobs.
SETUP & CARE
Mount it, connect your device and check it is running.
Use a firm mounting surface. Keep the panels clear of shade and leave room to adjust the angle and route the cable.
Mounting instructionsConnect a compatible 5 V USB device to the S9 Helios USB-A output. The current S9 Helios limit is 1 A / 5 W total, including the monitor if fitted. Follow the label supplied with a custom unit.
Check normal operation through day and night. If your unit has a monitor, link it to your account to see its readings. Sunlight and daily device use determine whether the battery replenishes.
Cold weather: do not charge the battery below 0 °C, including from solar. Check your unit’s protection with S9 before winter use.
YOUR MOUNT
There are three mount families. Match the actual mount and array you received; their parts and fixing patterns differ.
The compact mount used with the original smaller array. It has its own base, cradle and adjustment knobs.
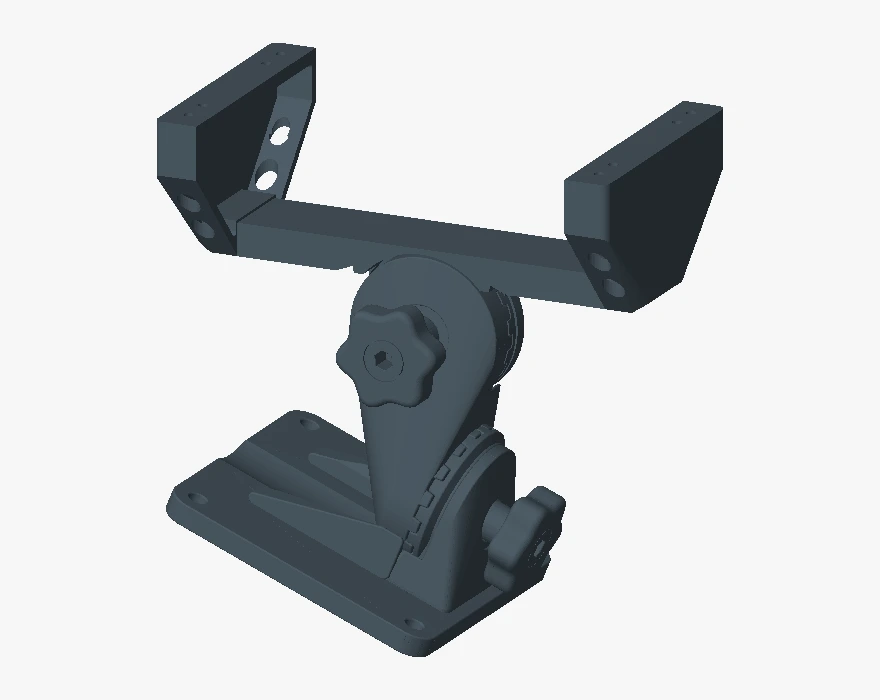
The mount for arrays made from 90 × 90 mm panels. Its one-piece carrier joins the adjustable connector and wall base.
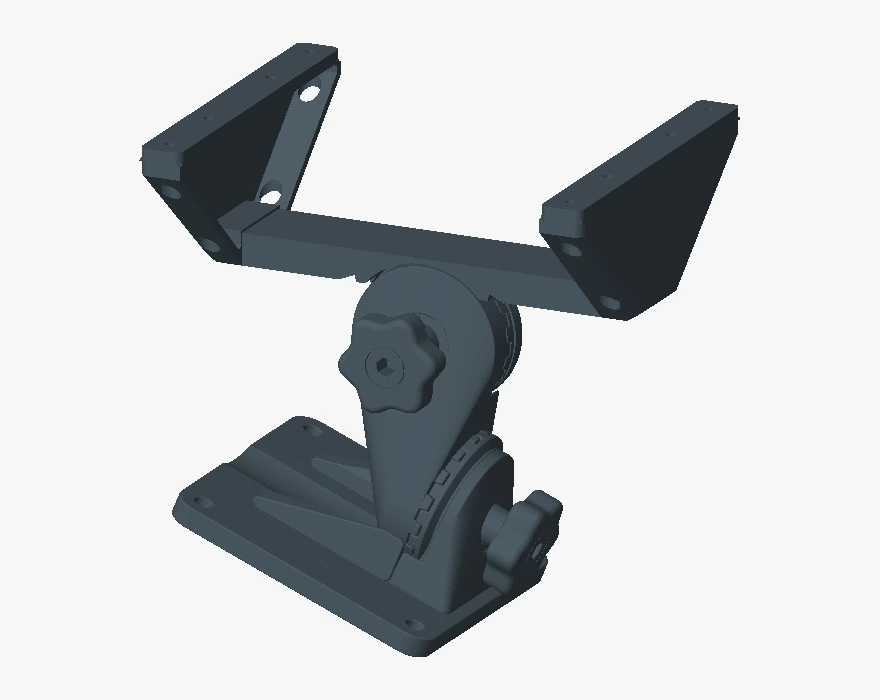
A matching carrier for the larger array layout, with its connector and wall base. Confirm the panel size and count when replacing a part.
Illustrations show the current saved designs. New mount photographs are being prepared.
Use the supplied wall plate to mark the holes. Choose outdoor screws and anchors suited to the surface. Tighten snugly without cracking the base, and support the array while fitting it.
Support the array, loosen the adjustment knob enough to release the joint, then reposition it. Let the joint teeth seat before hand-tightening. Do not force the teeth past each other or turn the knob inserts to adjust the mount.
Leave a downward loop in the cable so rain can drip away. Keep the plugs dry and support the cable so it cannot pull on a connector. Check the fixings after strong wind.
Use the matching parts and instructions for the set you received. Send S9 a photo of the array and mount if you need replacement hardware or assembly help.
The current 90 mm and large mounts use a one-piece carrier, connector, wall base and adjustment knobs. The original small mount uses a different mechanism. Keep each matched set together.
Find replacement partsThe USB-A socket powers your device. Check the device’s voltage and power requirements before connecting it. Repeated restarts can mean low battery, a poor connection or excessive demand.
For the standard S9 Helios unit, use the Micro-USB charging input with a regulated 5 V supply rated at least 1 A. Disconnect the powered device while charging from a 1 A supply. Follow the supplied instructions if your build differs.
EVE INR18650-35V cell ratings: ambient temperature of 0–45 °C for charging and −20–60 °C for discharging. These are manufacturer cell limits, not a tested temperature range for the assembled S9 Helios unit.
Do not cover the unit with insulating material or place it near a heater, flame or other heat source. The panels need sunlight; the enclosure also needs space to shed heat.
Do not put lithium batteries in household garbage. Use an appropriate local battery collection service. If a battery is damaged, contact S9 and the carrier before attempting to ship it.
Follow device setup, connect to your home Wi-Fi and verify your email. Use that email on your other phones. No private setup card is needed.
Open S9 HeliosConfirm your device accepts an external 5 V USB supply and stays within the unit’s total output limit, including startup demand. A USB connector alone does not establish compatibility.
For an uncertain device or a custom build, send S9 its model number before connecting it.
We normally reply within 24–48 hours.
For a fault or connection question, email support@s9sentinel.com with the model, order reference, what happened and a photo if useful. Never send Wi-Fi passwords or email verification codes.
S9 Helios has a six-month defect warranty and 15-day change-of-mind returns, subject to the published terms and your applicable legal rights. Contact S9 for return instructions before sending a unit back.
Planning your setup? View measured performance and runtime estimates.